
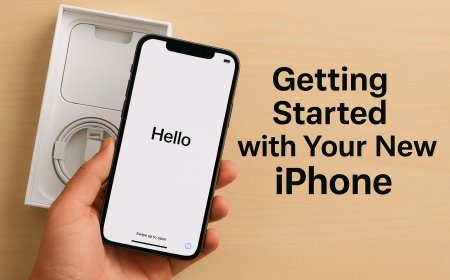


Getting Started with Your New iPhone: A Complete Beginner’s Guide
Unboxing a brand-new iPhone is an exciting experience. Whether you're new to Apple or simply upgrading to the latest model, getting started the right way ensures you enjoy everything your iPhone has to offer from the get-go.
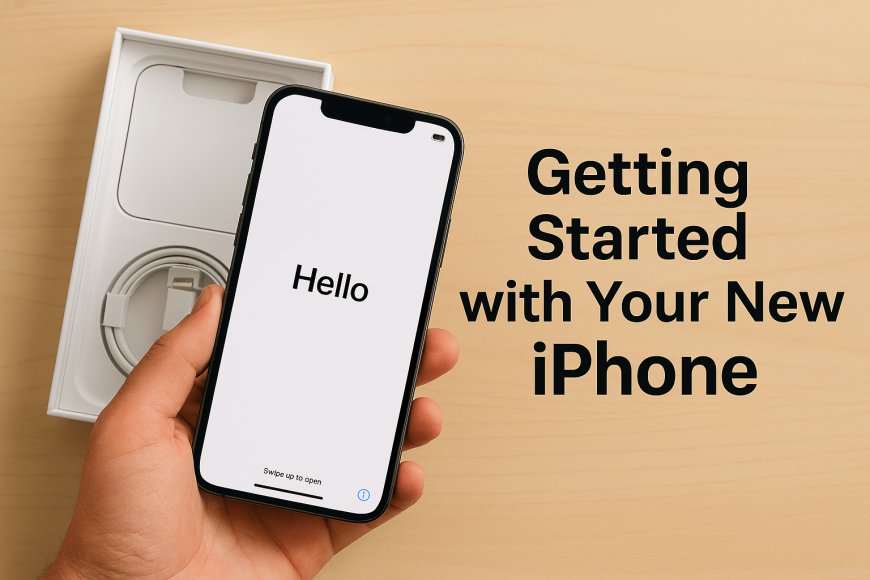
Unboxing a brand-new iPhone is an exciting experience. Whether you're new to Apple or simply upgrading to the latest model, getting started the right way ensures you enjoy everything your iPhone has to offer from the get-go. This guide walks you through setting up your device, personalizing it, and making it work for your daily life.
Step 1: Power It On and Set the Basics
Once you press and hold the power button on the side, the Apple logo will appear. That’s your cue to begin. From here, you’ll be guided through the setup assistant where you:
-
Select your language and region – This sets your iPhone’s default formats for things like time, date, and currency.
-
Connect to Wi-Fi – A strong connection is essential to proceed with iCloud setup, data transfer, and software updates.
-
Set up Face ID or Touch ID – These features secure your phone and enable quick unlocks and app authentication.
-
Create a passcode – Another layer of security for your iPhone.
Step 2: Transfer Your Data
Apple gives you a few options to bring over content from your previous device:
Option A: Quick Start
If you have an old iPhone running iOS 12.4 or later, place it next to your new iPhone and follow the on-screen prompts. It’s the fastest way to move everything – apps, settings, messages, and more.
Option B: iCloud Backup
If you backed up your previous iPhone to iCloud, just sign into your Apple ID during setup and select the backup you want to restore.
Option C: Move to iOS from Android
If you're switching from Android, download the Move to iOS app on your old device. Follow the prompts during iPhone setup to wirelessly transfer contacts, messages, media, and even your Google account settings.
Step 3: Sign In to Apple ID
Your Apple ID is your passport to everything Apple. Once signed in, you’ll have access to:
-
iCloud (for photos, backups, and files)
-
iMessage and FaceTime
-
App Store
-
Apple Music, Apple TV, and more
If you don’t have an Apple ID yet, you can create one during the setup process.
Step 4: Personalize Your iPhone
Make your iPhone feel like home:
Home Screen & Widgets
Long-press on the Home Screen to rearrange apps or add widgets. With iOS 18, widgets are even more interactive, letting you access quick actions without opening apps.
Wallpaper
Go to Settings > Wallpaper and choose from Apple’s vibrant selection or use your own photos.
Dark Mode
Activate Dark Mode under Settings > Display & Brightness for a sleek look that’s easier on the eyes, especially at night.
Step 5: Set Up Siri and Find My iPhone
Siri
Enable Siri to perform hands-free tasks like setting reminders, playing music, or asking for directions. You can activate it by saying "Hey Siri" or holding the side button.
Find My iPhone
Turn this on under Settings > [Your Name] > Find My. If your phone ever gets lost, this feature will help you locate, lock, or erase it remotely.
Step 6: Explore Essential Apps
Your iPhone comes with a suite of powerful native apps. Get familiar with these first:
-
Photos – Automatically organizes your shots. Use the new editing tools for quick enhancements.
-
Safari – Secure and smooth web browsing.
-
Notes & Reminders – Perfect for daily planning, lists, and even document scanning.
-
Messages – Now supports pinned conversations, mentions in group chats, and more.
-
Health – Set up your medical ID, track health metrics, and sync with your Apple Watch if you have one.
Step 7: Fine-Tune Battery Settings
To get the most out of your battery:
-
Enable Low Power Mode in Settings > Battery.
-
Keep Auto-Brightness on to adjust screen brightness based on ambient light.
-
Limit background activity by disabling Background App Refresh for apps you rarely use.
Step 8: Review Your Privacy Settings
Your iPhone gives you a lot of control over who sees what:
-
Check app permissions in Settings > Privacy & Security.
-
Use App Tracking Transparency to block apps from tracking your activity across other apps and websites.
-
Enable Two-Factor Authentication on your Apple ID for added security.
Bonus: What’s New in iOS 18?
If you're on the latest iOS 18, here are a few cool features you’ll enjoy:
-
App Library: All your apps, neatly organized into categories.
-
Compact Call UI: Incoming calls appear as a small banner instead of taking over your screen.
-
Live Text: Point your camera at text and interact with it — copy, translate, or search.
-
iMessage Updates: Reactions, inline replies, and improved group messaging.
Final Tips for New iPhone Owners
-
Back up regularly – Use iCloud or your Mac/PC.
-
Keep iOS up to date – Enable automatic updates in Settings > General > Software Update.
-
Explore the App Store – Discover new tools, games, and utilities tailored to your lifestyle.
-
Use Screen Time – Track and manage how much time you spend on your phone.
Conclusion
Getting started with your new iPhone doesn’t have to be overwhelming. Apple has made the process as seamless and user-friendly as possible. With a bit of personalization and a few smart settings tweaks, your iPhone will be fully set up and tailored to your daily needs in no time.
Enjoy the journey — your iPhone is more than a phone; it’s a powerful companion.
What's Your Reaction?
 Like
5
Like
5
 Dislike
0
Dislike
0
 Love
0
Love
0
 Funny
0
Funny
0
 Angry
0
Angry
0
 Sad
0
Sad
0
 Wow
0
Wow
0


![Why Is My Mobile Phone Slowing Down? [Explained]](https://techgo.pro/uploads/images/202505/image_140x98_681e1fd4ea7d7.jpg)